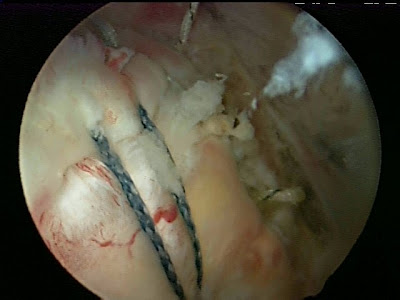
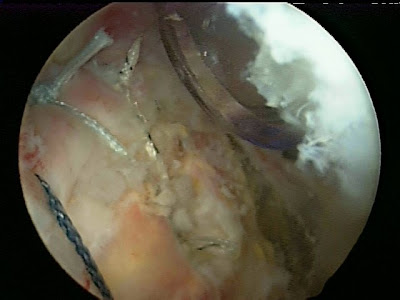
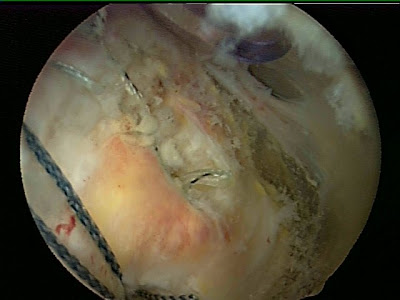
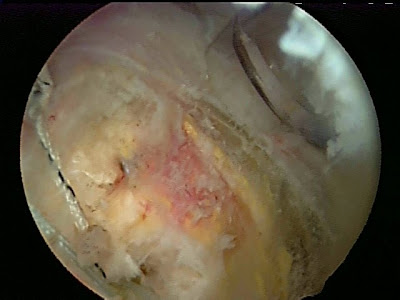
The nice thing about a blog is that I post whatever I want when I have time and energy to do so. This is one of those times. These are some pictures of an arthroscopic cuff repair. The acromioplasty and distal clavicle excision are omitted.
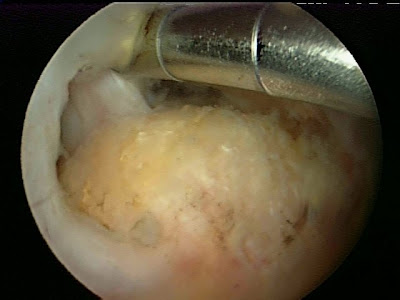
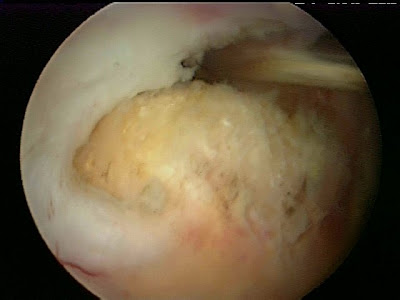
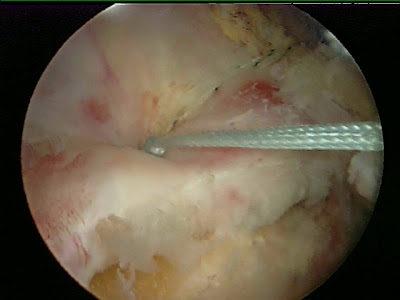
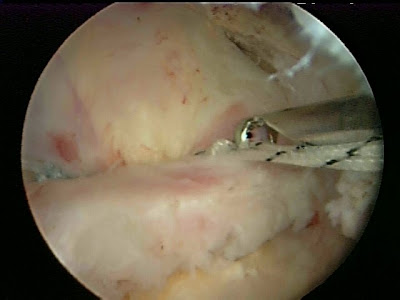
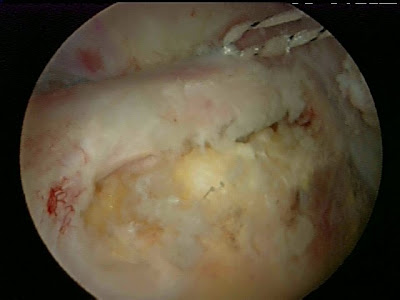
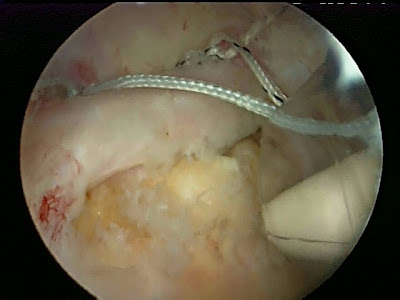
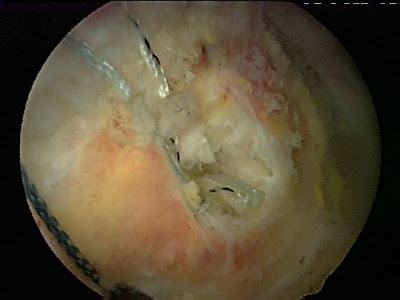
Below are some intraoperative pictures from a recent arthroscopic rotator cuff repair. This first picture reveals the initial debridement of the footprint (attachment) of the rotator cuff. The MRI did not reflect the true extent of the damage to the cuff. The tear was approximately 2 cm from front to back.
The exposed bone is then burred down to bleeding bone.
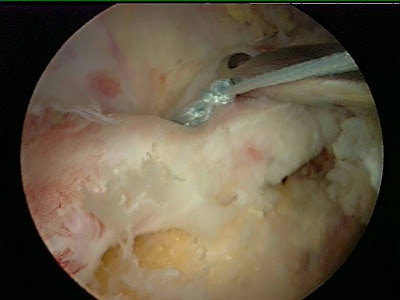
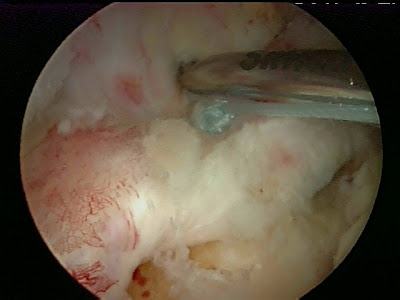
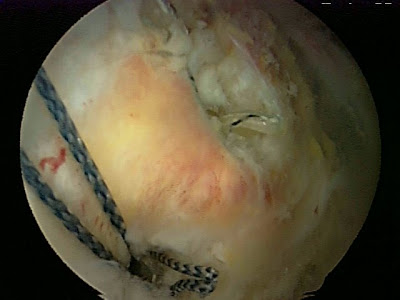
Here is the anchor inserted into the bone in the greater tuberosity just at the edge of the joint cartilage. The sutures are attached to the bone anchor below. The sutures are then passed through the tendon.
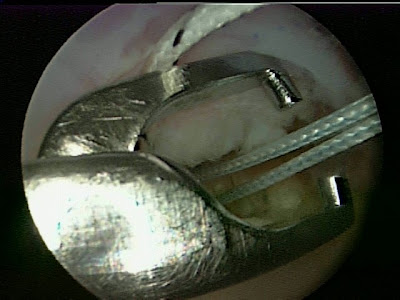
Here I grab the sutures during the repair. I pass the sutures through the small plastic cannulas that pass through the skin.
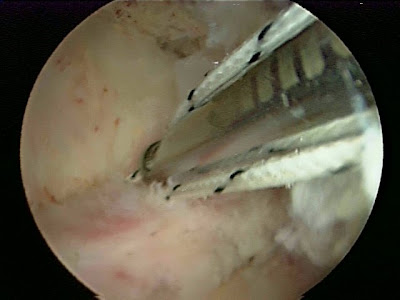
Below some knots are tied as the first part of the repair. This completes the first row (medial row) of the repair.
Tying knots with a knot pusher below.
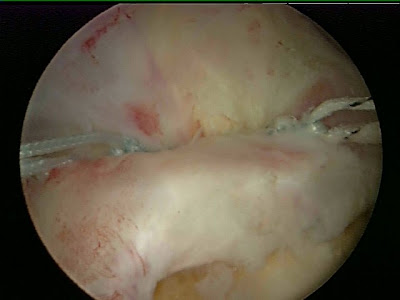
Medial row of sutures completed below.
Note the plastic cannula to the left in the below picture.
Sutures from the medial row are then passed through the lateral cannula and are attached to the Versalock suture anchor outside of the shoulder. The anchor is then slid in through the cannula and placed in the correct position on the bone.
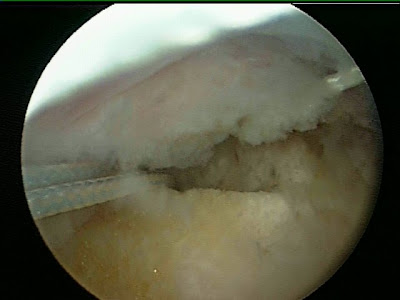
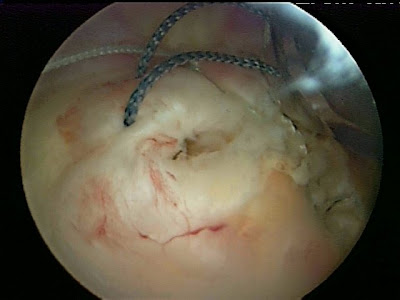
Below the first sutures are placed into the bone in the lateral row. Note the closure of the hole in the cuff tear.
Here you see the tiny gap in the repair that I then repaired with another suture. This was passed in a “horizontal mattress” pattern through the tendon. It was then attached to another anchor that was passed into a second Versalock anchor.
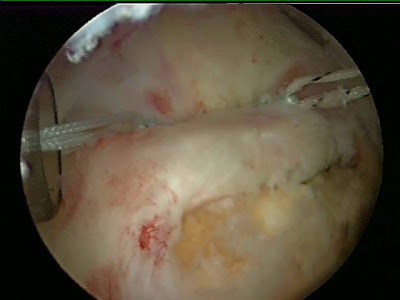
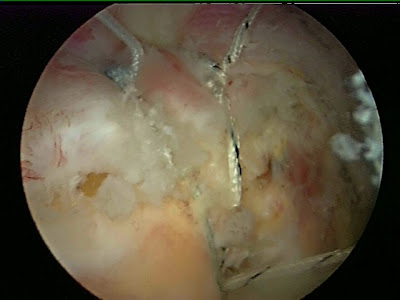
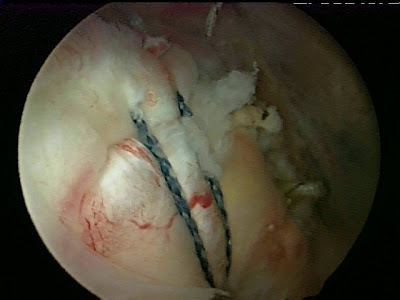
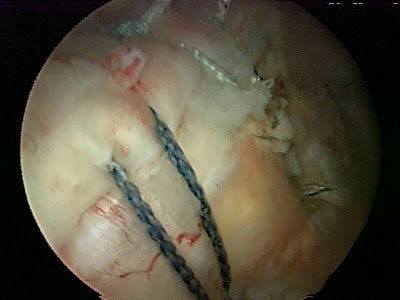
Multiple images of the final repair below.
Look, no gaps and a water tight closure.
Thanks.

